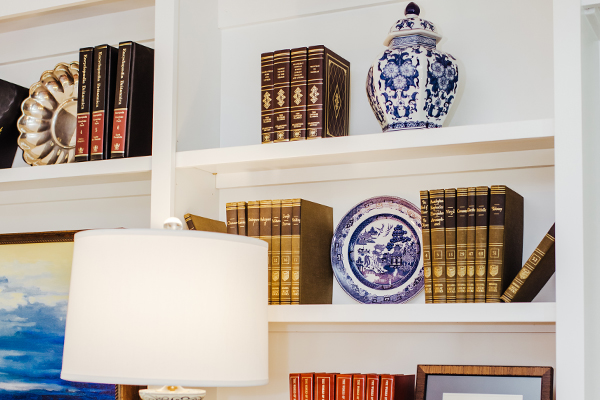
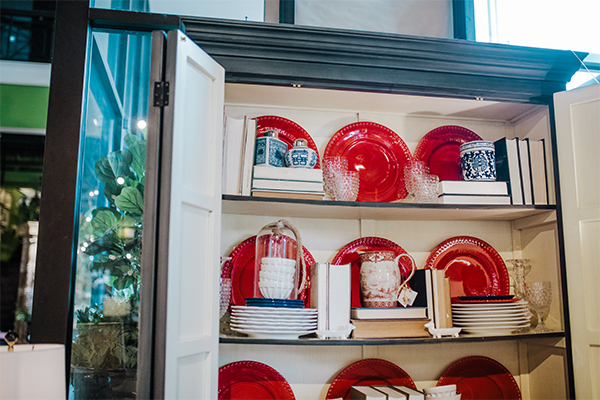
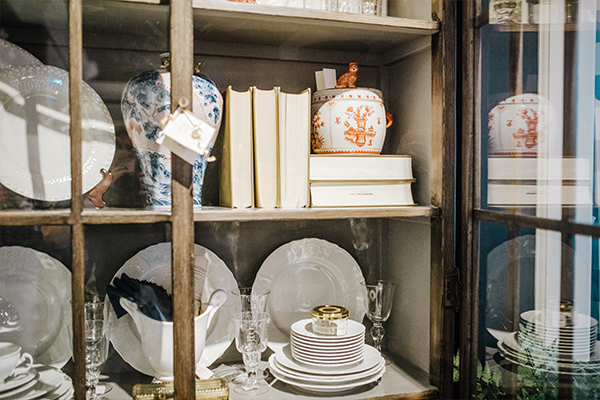
On social media lately I have been seeing the #shelfie hashtag popping up all over. A “shelfie” is a play on the ever-popular “selfie” but focuses on a beautifully decorated shelf. This is perfect for us here at Nell Hill’s! Not only do we love an impeccable vignette, we also adore perfectly styled shelves! Walking through our shop, you are sure to notice our signature mix of books and décor on our bookshelves and a medley of vases, place settings and accessories in our hutches and cabinets, but did you know there is an art to it? I’ve decided to pull back the curtain (or cabinet door if you will) and share some of our go-to tactics for creating the perfect #shelfie moment!
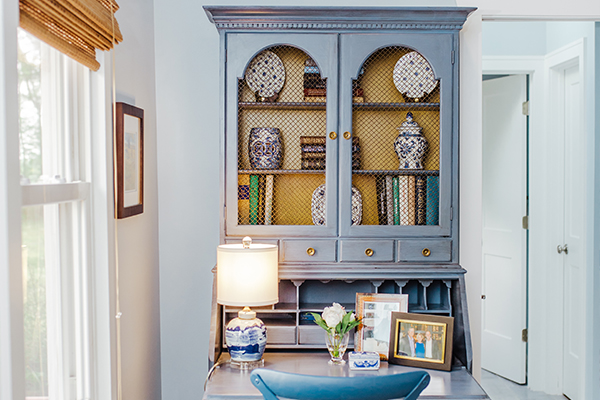
A sure-fire way to end up with a mishmash, hodgepodge of “stuff” on your shelves is to go in without a plan. Think about the story you want to tell in your space – is this a place for displaying sentimental keep sakes, a stylish way to show off your ginger jar collection, or do you simply need to dress up some built-ins before your book collection takes over your shelves completely? Define the purpose of the space and let that guide you as you select items for placement.
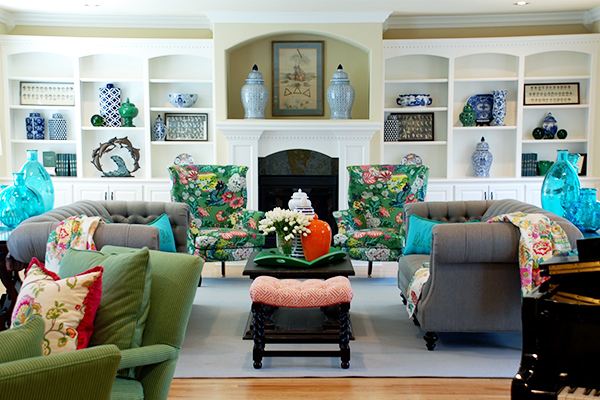
After you’ve landed on a purpose, think through how you want the shelves to fit into your space and the color palette you want to highlight. Do you want them to add texture but blend in? Consider monochromatic accents and accessories that coordinate with your space. Do you want your shelves to pop? Pull from the other colors in your room and find bold pieces that will stand out. Tie your space and shelves together by adding accessories that pick up the other elements in the room. For example, a natural woven basket would pick up the colors and textures in a sisal or jute rug.
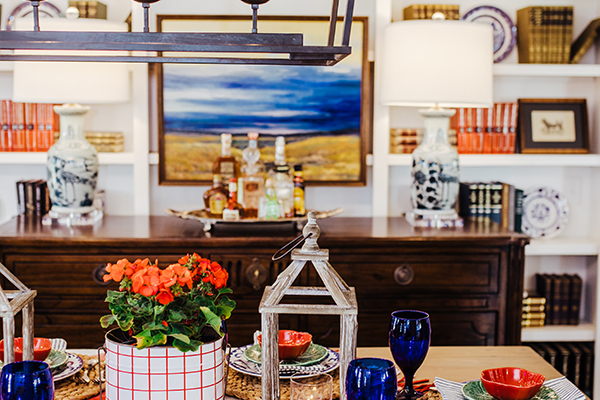
Having thought through purpose, functionality, and aesthetic, it’s time to find the perfect pieces! Start by shopping your own home. You have great taste, so you’re bound to find at least a piece or two to get yourself started! When on the hunt for new pieces, look for a variety of shapes, sizes, and textures to keep your shelves visually balanced and full of movement. Accessories we often use in the shop include books (of course!), art, baskets and small trays, vessels and bowls of all kinds, floral and greenery arrangements and things like picture frames for sentimental moments! Don’t forget – tall accents can be difficult to find but are essential when it comes to adding movement and drawing your eyes around your space.

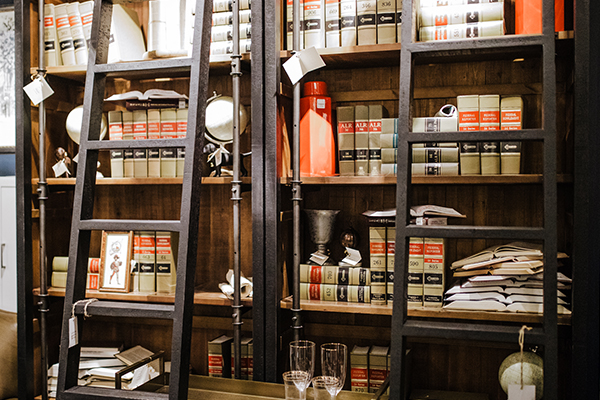
Once you have collected all your accessories lay them out in front of you – I like to group by size – so you can see everything with which you have to work. Then, it’s time to start stylin’! I like to start with my largest and tallest pieces first. Spread them throughout your shelves, making sure no two like pieces (or like-sized pieces) are directly next to each other vertically or horizontally. From there, begin to fill in each shelf, placing medium sized pieces throughout. Stack books on their sides and top them off with an accent to add height. Push art against the back wall of the shelf to create depth or pop a smaller piece into a tabletop easel to make it jump out! Unless you want to feature repetition (it’s a great design principal and can make a wonderful impact), try to stay away from using the same materials right next to each other – two wicker baskets of the same size might look best separated for instance. Three wood frames would look best sprinkled throughout (unless you are going for repetition of course!).
The finishing touches – those fantastic small items you’ve been saving for last – are ready to make their way to their new homes! Tuck small chinoiserie boxes or bud vases into areas that need a little extra detail. Grouping three smaller items on a small tray can be quite impactful in the right spot, too! Last but certainly not least, don’t forget about “negative space”, or a space that isn’t full of accessories! Leaving the right spots open, void of accessories completely, can help open up your shelves and give the accents you do have room to breathe.
Don’t be upset if you place your last piece and something doesn’t look quite right. That’s A-OK! Styling shelves for the perfect #shelfie takes some tweaking and adjusting. Don’t be afraid to move things around or even start from scratch for a second round of styling! Sometimes it takes starting over to find what looks right to you in your space.
While perfectly styled shelves can be gorgeous year-round, we can’t forget about seasonal decor! Mix in seasonal accents with your existing display or swap out select pieces for items that speak to the upcoming holiday. Styled shelves are a great way to bring the holiday into your space without cluttering it up.
Ultimately, I hope you enjoy the process and the final product. I can’t wait to see your #shelfies! Don’t forget to share them and tag us. I’d also love to hear your shelf styling tips and tricks – please share them with me in the comments below!