When you were kids, did any of you spend hours gazing at all the packages under your Christmas tree, trying to guess what was in them? Did anyone else risk getting on Santa’s Naughty List – and in major trouble with their parents — by actually unwrapping their gifts in secret, playing with the toys inside, then wrapping them back up and putting them back under the tree? Or, was that just me?
Thankfully, I have much more self-control now when it comes to sneaking peaks at my Christmas presents. But I’m still just as infatuated with Christmas trees, with all their sparkling lights and mesmerizing ornaments.
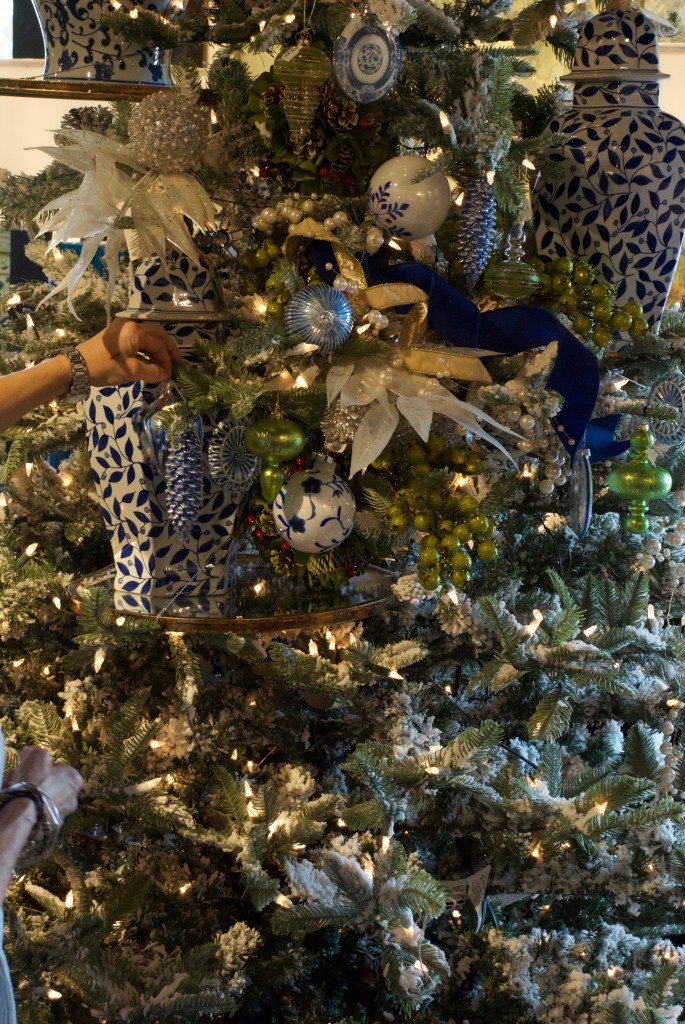
This holiday season at Nell Hill’s, we are putting up a forest of brightly decorated Christmas trees, each different from the last. I asked Beverly, our Diet Dr. Pepper-fueled, uber-talented seasonal display designer, to share her secrets for trimming trees that are so magical, you feel like a kid again. Here’s a step-by-step guide, using this inspiration tree from Nell Hill’s.
Set the Stage
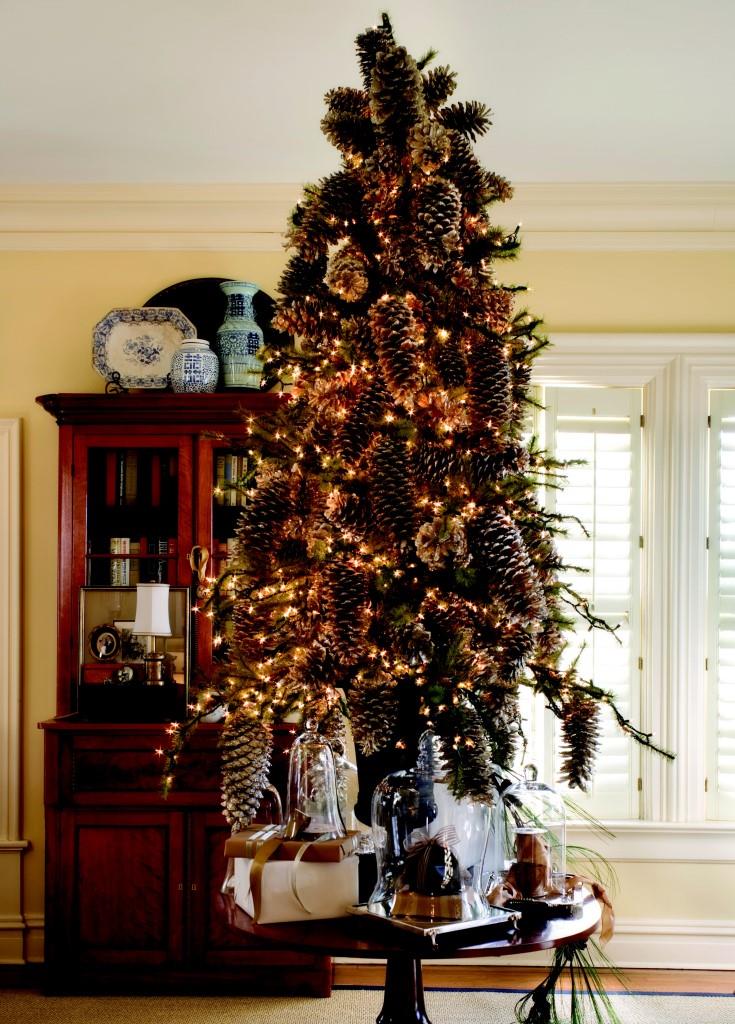
Years ago, I made the switch from a traditional tree stand to a large black iron garden urn, after an ill-fated dinner party when my tree stand failed and the tree came crashing down on the dinner table.
Experimenting with new ways to hold my tree more securely, I tried one of my garden urns, empty for winter. The urn not only held the tree tight, it gave it a stately air. With the tree elevated, we also had plenty of floor space for gifts. Now, all the Christmas trees at Nell Hill’s are displayed in iron garden urns.
STYLING TIP: To secure an artificial tree in a garden urn, just press the tree in until it won’t go any farther. The bottom branches will bend up and stick out of the urn. Just fold those branches down over the urn’s mouth.
Light it Up

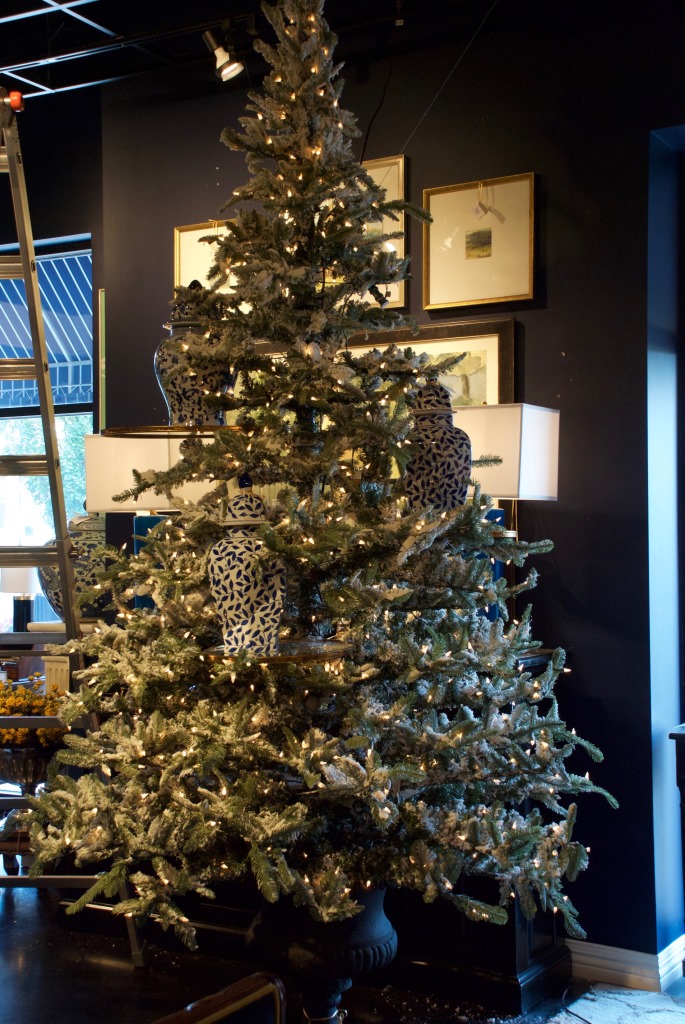
When lighting your tree, Bev says, the rule of thumb is to have 100 lights for every vertical foot of your tree. So, a 7-foot tree would need enough strands for 700 lights. In addition to using white bulbs, we are loving vintage-inspired colored lights this year, for a homey, retro look.
For a brilliant tree, Bev suggests winding every branch with lights. “Start at the middle of the branch, then wrap your lights around the branch, working toward the front,” she says. “Depending upon how bright you want your tree to be, do that for every single branch or every other branch.”
Hang Your Ornaments
Bev suggests taking all the ornaments you’re considering using on your tree and laying them out on the floor where you can see them all. Then, sort them into groups. Place like-kinds together, such all the bulbs, in one pile. Then, sort those collections into sizes, with different piles for the large ones, the medium and the small. It’s easier to decide where to place the ornaments when they are all in groups in front of you, she says.
When she starts to add the ornaments to our trees at Nell Hill’s, Bev works in sections, finishing one part of the tree at a time. To give the tree added depth, she puts several ornaments on each branch. The largest ornaments are hung toward the back of the branch. Then, on the same branch, she will place a medium sized ornament in the center and the smallest ornaments at the end of the branch. If there are special ornaments you want to spotlight, place them at the end of the branch. (For your tree at home, you may not want so many baubles, but at the store, we like ours fully loaded.)
STYLING TIP: I cannot guess how many zip ties Bev uses as she builds our holiday displays at Nell Hill’s – probably enough to stretch around the world a few times. On our Christmas trees, she uses the ties to secure each ornament snugly to a branch, so none fall off on accident. If you have kids or pets, this might be a good idea for you, too.
Experiment with Colors and Textures
“Someone told me once that decorating a Christmas tree is like doing a painting,” Bev shares. You need to experiment with colors and textures, working them together until you achieve the finished look you want. As Bev adds elements to the trees, she will add and subtract, switch things out, play with it until she likes what she’s seeing.
STYLING TIP: For a fuller, more interesting tree, add a variety of floral picks, inserting them between the branches. We like to mix in picks that have berries, pinecones, frosted leaves or a bit of silver and gold. As you add picks, you will be surprised by how they transform the look of your tree.
Add an Element of Surprise
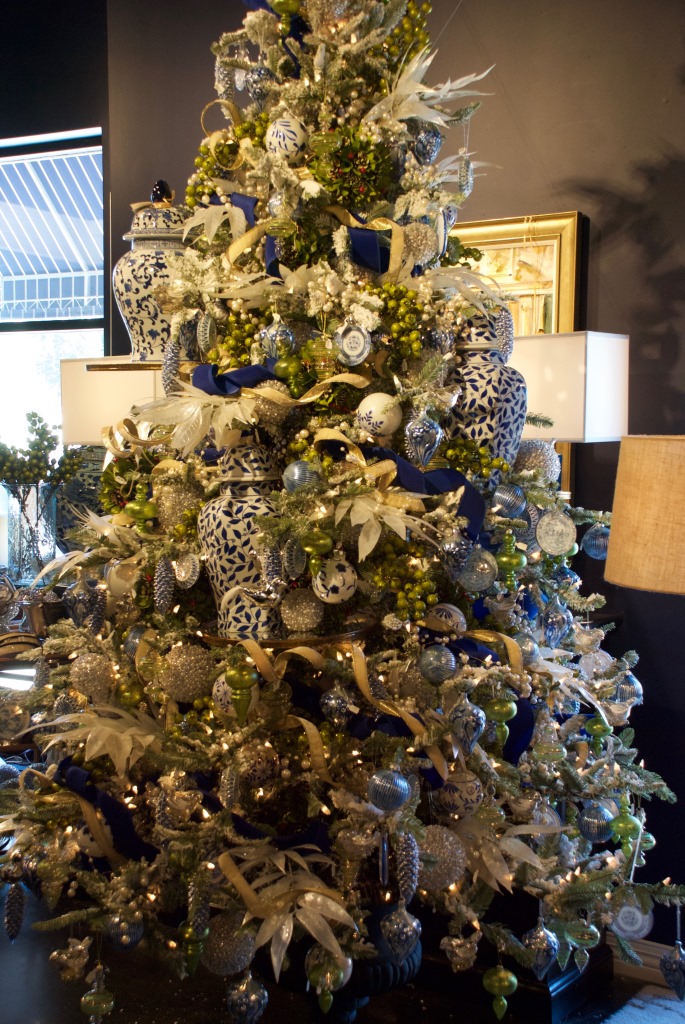
Add a bit of fun to your tree with a surprise element or two. At Nell Hill’s, we go big on this one because these statement-makers raise the drama level of a tree.
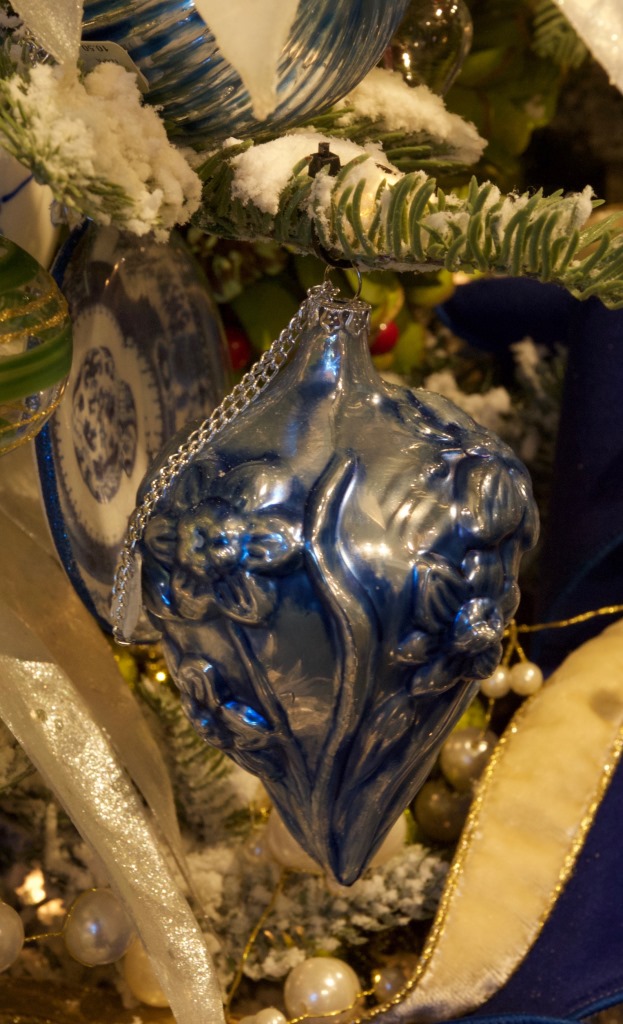
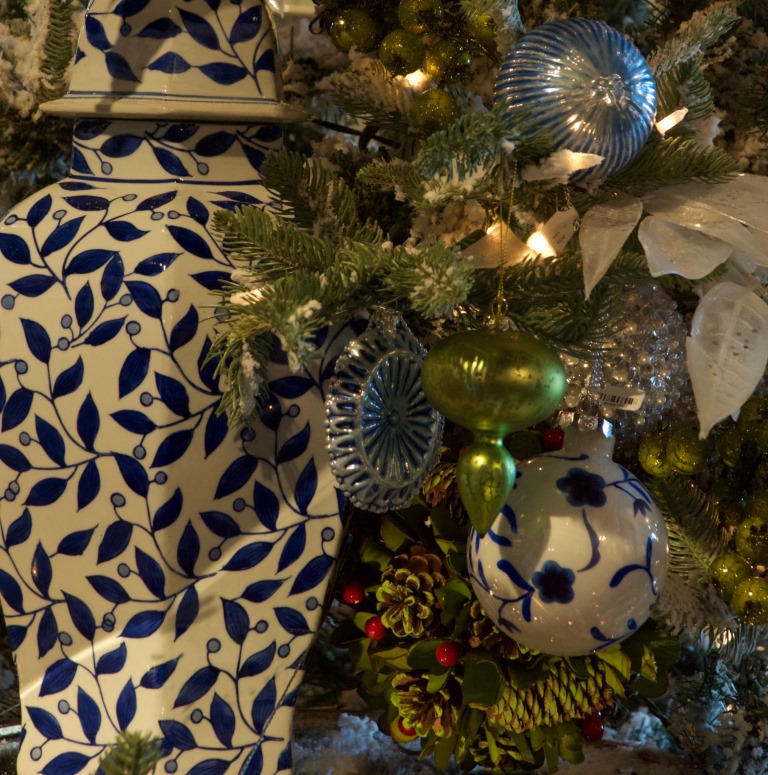
For this inspiration tree at Nell Hill’s, our theme was blue and white pottery. Bev and Dillon, the logistical manager for our displays, figured out how to add blue and white urns to the tree. They started with a oval mirrors used as shelves. Dillon secured the mirrors in three different places to the tree’s inside pole using picture hanging wire. Then, they rested the urns on the shelves. Wow, what an impact!
Finish with Ribbon
The very last layer Bev adds to her brilliant trees is ribbon, like a pair of earrings that finishes off a great outfit. She suggests getting holiday-themed ribbon that looks attractive on both sides. Then, she cuts the ribbon into manageable sections, and twists it into loose spirals. Instead of winding the ribbon around and around the exterior of the tree, like we did back in the day, tuck the ribbon twists in and around the tree branches, willy-nilly.
Next Week … Whether or not you are entertaining this holiday season, make your table cheery and fun. We’ll share tips next week.