Before my annual fall open house, the creative team at Nell Hill’s and I have fun creating a plethora of dramatic fall displays at the stores and in my home. We start getting giddy the moment the fall merchandise arrives from market. Then our excitement steadily builds into full-fledged creative mania as we start tearing into shipping boxes filled with the new fall goodies. Our assignment is to use these treasures in inventive new ways to create show-stealing displays.
If you’d like to perk up your home with a few gorgeous autumn displays, here is the quick four-step approach we follow when fashioning table displays at Nell Hill’s.
Step One: Think Big
To create a display that turns heads, start by picking an arresting central piece that is big enough to add vertical height and mass to your overall arrangement, yet is also interesting enough to bring in some visual drama.
When we design displays at our stores, we’re decorating large rooms with tall ceilings, so our approach is Go Big or Go Home. You could follow this same philosophy if you live in a home with lofty ceilings. The challenge to decorating big, open rooms is that they can be hard to warm up and the sheer volume of the space tends to dwarf smaller furnishings and accents. If that’s the case in your home, don’t be bashful when picking the big piece that will serve as the backbone of your display. Go for the gusto. If your home is smaller in scale, adjust accordingly.
We tend to push the envelope when creating tabletop displays at the stores. It’s not unusual for us to place pieces of furniture in the middle of a dining room table to serve as the dramatic base of a display, such as an étagère. Obviously, you’d never want a display that’s this big on your dining room table if you were going to have a seated dinner party. But it’s an arresting approach if you’re using your table to set up a buffet or simply for show.
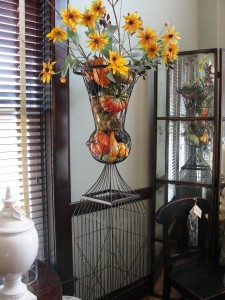
Right now, one of my favorite big guys to use in fall displays is a fabulous wire urn we just got in—I absolutely swooned over it at market. This unusual urn is 6 feet high with a 15 inch square base so it won’t fit in every room, but if you’ve got the space, it looks amazing on top of a table. Fill the basket of the urn full of pumpkins or gourds then create a wild and natural bouquet of fallen sticks and foliage to spill out of the top of the urn. Presto, you have a great start to a display that will get your guests talking. If your ceilings aren’t tall enough to place a huge urn on a tabletop, set it up in the center of your foyer to wow guests as they come in. Or, use it as a focal point in your fall garden. I can picture the wire urn lined with sheets of moss and planted with a fern or used as a trellis with flowering vines growing up its sides. (This unique urn is priced at $96, and we have a limited quantity, so hurry in if you want one!)
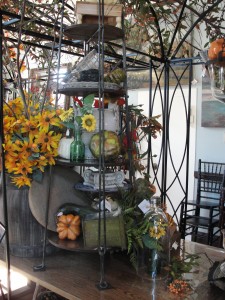
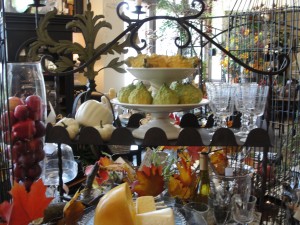
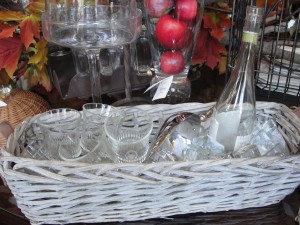
Multiple-shelved serving caddies are another tool I love to use as the base of tabletop displays in rooms with normal ceiling heights. They are great on kitchen islands, dining room tables or buffets. Not only do the servers add the vertical height and volume you need to make your display stand out, the shelves offer you a world of decorating possibilities. At Garrity’s, we just created a fall dining room treatment for a wine and cheese party. We placed a serving caddy at the center of the table. First, we filled the shelves with a few fall accents, like a stack of cake plates loaded up with gourds. Then we worked in some party essentials, like an ice bucket for white wine and a few wine glasses. The caddy pictured here is one of my favorites. It measures 28 inches wide by 36 inches tall by 14 inches deep and features a wonderful rustic patina and twisted wrought iron lines that make it ideal for fall entertaining.
Step Two: Mind the Middle
Once you have the big base in place, it’s time to fill in the middle ground of your display with medium sized objects. This is your chance to bring in some contrast in color, texture and style. I think displays are more interesting if they take on the overall shape of a lopsided pyramid, slightly off-center and askew. Those in the shape of a perfect triangle feel too staged for me.
So many different types of decorating pieces work wonderfully in the middle ground of displays, so let your imagination run wild. Your goal is to combine an interesting mix of pieces. Each one should be worthy of individual attention, but they must also work well with the other pieces to create a harmonious look.
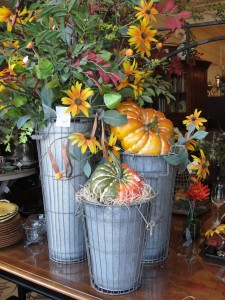
If you’d like an outdoorsy fall feel, search your potting shed for weathered pieces like galvanized buckets, garden statuary and urns. How about a primitive barrel? A lantern? Or, fill a tall, thin vase, hurricane or apothecary jar with seasonal fruits or veggies, like red apples, pears, avocados, artichokes and persimmons.
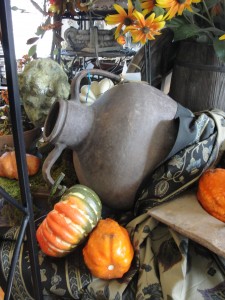
Antique olive vessels are another frequent pick of mine. I really like them placed in the middle ground of a display because you can’t beat their earthy coloring and graceful, feminine lines. At Nell Hill’s we are carrying some amazing olive vessels right now that are over 100 years old, yet priced at an absolute steal.
Step Three: Set Your Sights Low
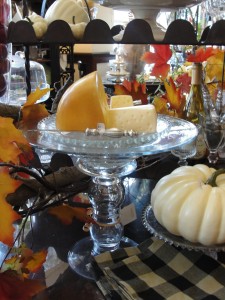
Next, tuck a few treasures into the foreground of the display. For the wine and cheese party display we created at Garrity’s, we relied on interesting food arrangements to give the lowest level of our centerpiece some kick.
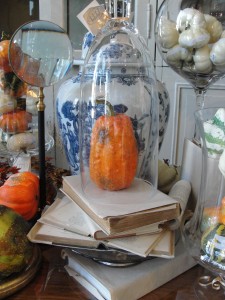
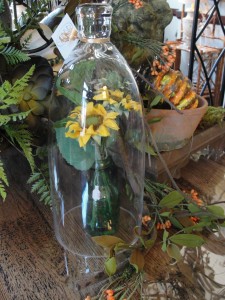
We perched cheese on pretty cake plates then covered them with cloches. Cloches are another essential for tabletop tableaus—everything placed under a cloche looks positively regal.
Instead of just lining up stemware in ho-hum rows, we put the wine glasses and ice in a fun wicker basket. Wooden dough bowls, one of my favorite pieces to use in the third level of a display, are also ideal for holding party fixings or seasonal accents like gourds, fruits or leaves.
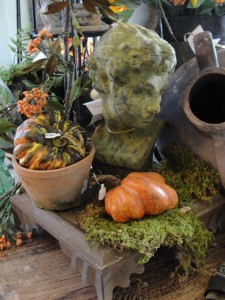
To help finish off a display, you could use a metal plant stand or terracotta capital as a mini stage for a small tableau that complements the larger overall display. Here, we created a rough carpet of moss and topped it with a gourd and a small garden bust. This tiny point of interest doesn’t compete with the larger presentation but instead is a visual treat awaiting those who study the display more closely.
Step Four: Celebrate the Season
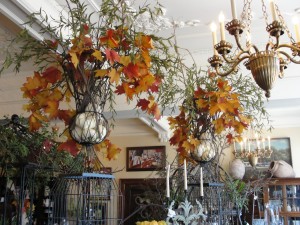
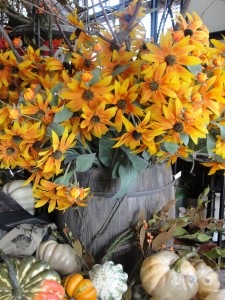
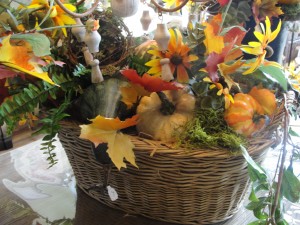
Once you’ve tweaked your display to near perfection, add in the seasonal accents that will make it scream fall. Fill the rustic pail, garden urn or hurricane that’s in the middle ground of your display with sunflowers, fall leaves or branches.
In the foreground of your tableau, tuck in a tiny fall treasure, like a vase holding a fall bloom or a gourd under a cloche.
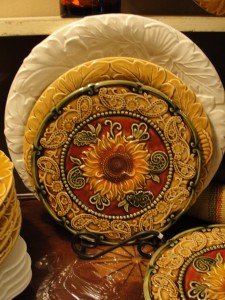
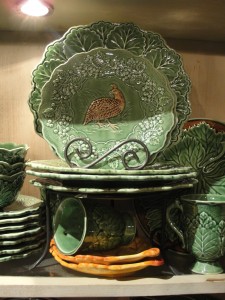
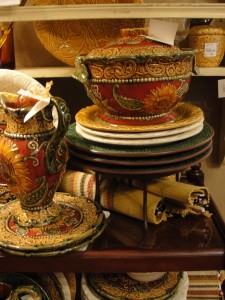
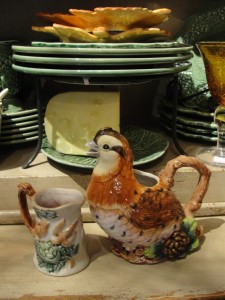
As a dish-a-haulic, I like to use seasonal dishes to add a feeling of fall to my dining table. If you have room in your china hutch (and even if you don’t!), get a set of fall themed dishes you can enjoy every year. Or, pick up a few pieces of fall dishware you can mix in with your everyday dishes.
My pick would be a salad plate or dessert plate you can stack on top of your white china.
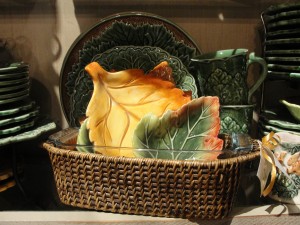
Or, chose interesting fall serving pieces that will pop up your daily table setting, like a serving bowl, platter or pitcher.
How about whimsical autumn salt and pepper shakers? A big soup tureen to serve your favorite fall soups? Or adorable creamers to make your morning coffee more fun?
Next Week … Pumpkins and gourds are like tiny works of art. Come back next week and find out how to showcase these natural masterpieces in your home decorating this autumn.
