After a long day at work, my bedroom is my retreat. I snuggle up in bed and lose myself in a good book or the latest decorating magazine. The key to turning your bedroom into an oasis that fills you up is to start with a dreamy bed. Too often, when we decorate we spend all our time and budget making the more public spaces in our home lovely, but then short change ourselves when it comes to decorating our own bedrooms. But I’ve found that waking up in a beautiful bed is the ideal way to start, and end, your day. Here, the Nell Hill’s team will show you the four steps we always follow when we make our dream beds:
Pick a Palette You Love
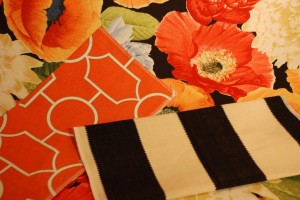
When we design custom bedding ensembles at Nell Hill’s, we always start with a fabric we are gaga about. Right now, I’m obsessed with the orange and navy poppy floral in the photo above. Once you pick your inspiration fabric, start pulling in complementary fabrics. One of my favorite mates for this fun floral is this equally peppy black-and-white stripe. When you have bold patterns like these, it’s important to also include some more sedate solids, like black, white or navy.
Start with a Great Foundation
We are so lucky to have a terrific team of fabric pros and bedding designers at Nell Hill’s who have gobs of creativity, a great eye for color and pattern, and the ability to translate our customers’ dreams into bedding they love. Here are Kristen (left) and Nichole with our inspiration bed, one of the many they have designed at Nell Hill’s. This dynamic duo heads up our fabric design team.
Kristin is starting our bed with the base layer: Sink-into-soft cotton sheets. When selecting sheets for your bed, get the best ones your budget will allow. You won’t regret it when you slide into bed each night.
Do you need a bed skirt? If the sides of your bedframe are not finished, the answer is yes. Our two favorite styles at Nell Hill’s are a ruched skirt with a romantic, flowy bottom, and a crisp box pleat.
If your bed slats are attractive, don’t use a skirt if you don’t want to. But, be sure the box spring doesn’t show. Our trick? Cover it in a fitted sheet!
Layer it Up
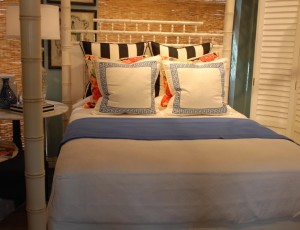
In the winter, we start our beds with a big, thick duvet, then fold several quilts at the foot of the bed. But in the spring and summer, we do the reverse. For our inspiration bed, Kristen and Nichole paired white and cornflower blue mate laisse quilts. The bottom quilt folds over the top quilt, for a bit of contrast color. We peeked the blue on this bed, but could easily reverse them. We finish off this bottom layer by folding a bit of the sheet over the quilt.
Next comes the duvet – the design element that pulls the ensemble together. Often, when we create custom bedding, we use different fabric on each side of the duvet. One side says summer and the other, winter, so with one flip you can change the entire look of the bed. We love our lush layers at Nell Hill’s, so in the summer, we don’t give the duvet the boot. Instead, we remove the down fill and simply fold the empty duvet at the foot of the bed. If you want to keep that trademark fluffy look in your duvet, here’s a trick we use: Fold the down fill inside the empty duvet. At night, you can remove the fill and use the duvet as a light layer to cover up with.
Add Personality with Pillows
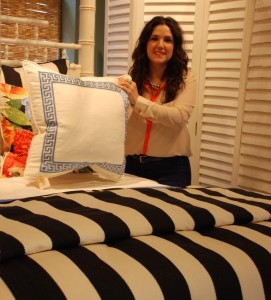
Pulling together a mix of accent pillows for your dream bed is a blast, and a wonderful way to express your creativity, celebrate your style and make your bed distinctive. Here, Nichole is putting our pillow bouquet into place on our inspiration bed. The number of pillows you’ll want on your bed is completely dependent on your tastes. But at Nell Hill’s, we love the look of four distinct layers:
- Layer 1: two 27” x 27” euros
- Layer 2: two 24” x 24”squares
- Layer 3: two 24” x 24” squares
- Layer 4: one 16” x 30” lumbar
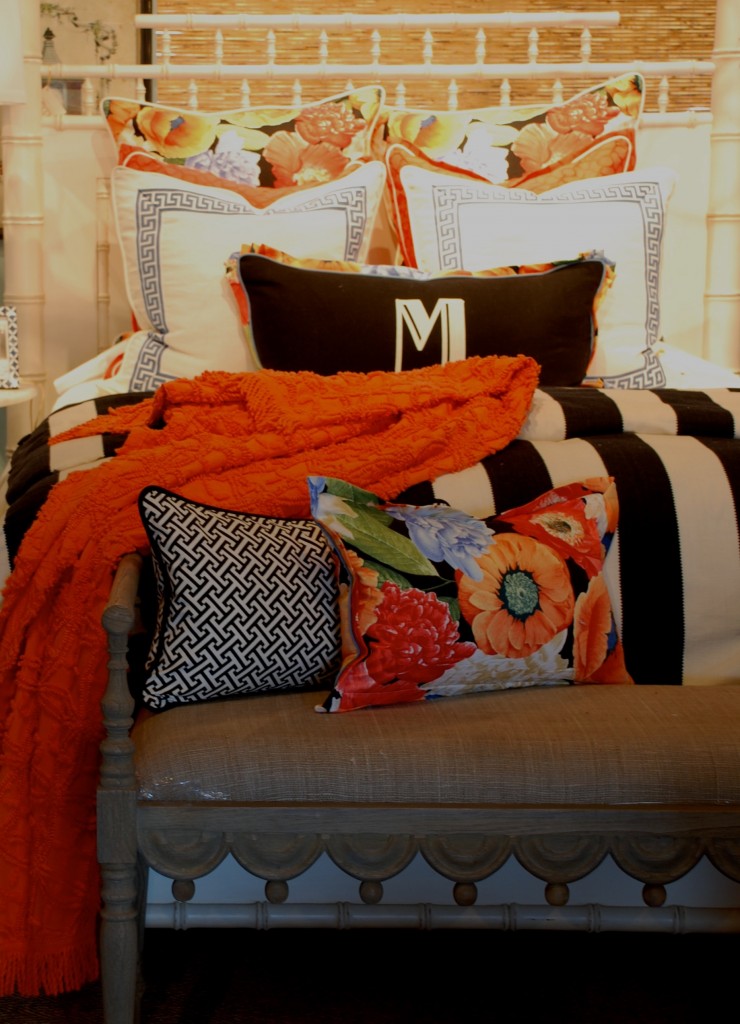
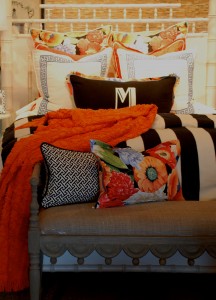
When you are picking which fabrics to put on which row of pillows, play around until you have a combination you love. We often repeat the fabric from the duvet in one row of pillows, and when we do, we separate them by at least one row of pillows. Here, we used the stripe for our back row euros. Next comes our inspiration fabric. In most of our beds, we mix in a solid to balance the pattern. In layer three, these white squares featuring a Greek key trim are a perfect pick. We repeated our inspiration fabric in the trim of our front lumbar pillow. You’ll notice in the first and last photos, that we switched things up a bit, swapping the stripe for a solid orange euro. There are so many different directions you can go!
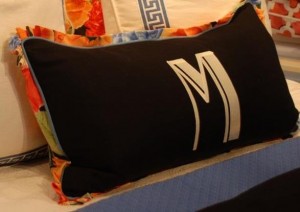
One of the many benefits of custom bedding is the sky is the limit, especially when it comes to the finish for each piece of bedding. We might trim one set of pillows with a contrasting cord, do a mini flange with mitered corners on another set, then do a pleat with micro welt on the third set. One of my favorite looks? A monogram, to make it truly personal. Love!
Once all the essential pieces are in place, you can add in a few last accents, like a throw blanket. This is a great way to add a zip of color or touchable texture to the finished look of your bed. Another look I love: Put a bench at the foot of your bed and add a few more pillows (can you ever have enough pillows? No!).
The last step? Slip into your jammies, dive in and enjoy your dreamy bed!
Next Week … Ready to trick up your coffee table display for summer? I’ll have some looks to inspire you!

