Decorating your Christmas tree can be the highlight of the holiday season. For some people, it’s a family celebration, where everyone gathers to add their favorite ornaments to the mosaic of memories that covers the pine. For others, trimming the tree is like creating artwork, with each ornament carefully chosen and strategically placed. However you go about it, here are six simple steps for trimming a tree that is as glorious as the season:
When it comes to creating an awe-inspiring Christmas tree, my friend Kelly is a master. A floral designer who is also part of the visual team at Nell Hill’s, Kelly has been busy this year designing trees at Nell Hill’s, each one unique, each one stunning. Our customers always ask us how to make their trees as beautiful as the ones in our stores. We can’t clone Kelly and send her to everyone’s home to help with their trees, but we can share her secrets for the perfect six-layer tree.
4 Tips to Get You Started
Before we launch into Kelly’s tree decorating secrets, I want to share the guidelines she follows when she approaches any tree she’s decorating (or, as Kelly terms it, “tree stuffing” because she packs so much into the pine).
- Make sure you have enough lights to make the tree brilliant. She uses 100 lights per foot of the tree’s height.
- Don’t shove the tree into a corner. This is a masterpiece, so make sure it’s in a highly visible spot.
- Use a tablecloth to conceal the tree stand instead of a tree skirt. Tablecloths drape nicely and are easily laundered.
- Pick a theme and color palette to bring alive. Use up to three colors on your tree, no more.
Layer 1: The Top. Lights and Garland First, from the Top Down
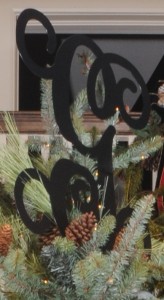
For a rich, full-looking tree, you must create a great base. Start by using plenty of lights, making sure they are evenly distributed throughout the tree. I’m partial to small, white lights for their sophisticated simplicity. Next, pick a great topper, the crowned jewel of your tree. When we decorated for the Nell Hill’s Holiday Open House this year, I knew I had to top my tree with a metal monogram, my newest heartthrob. The wonderful “G” at the top of my tree set the tone.
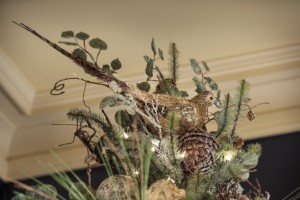
Check out this adorable topper from the tree that stood in my dining room during last year’s Holiday Open House. My entire dining room had a woodland bird theme, which was brought to life on the tree, starting with this great top treatment.
Layer 1 of your tree should also include the bedrock elements of your design, like the garland or ribbon that will thread through the tree. The photo above is of the plucky garland that bisected the tree in my foyer this year.
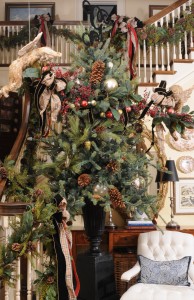
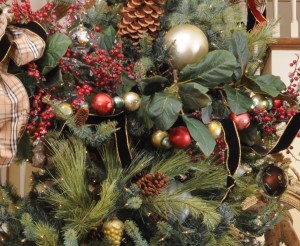
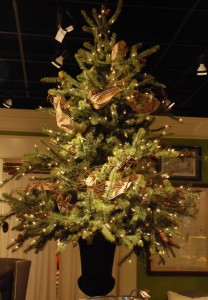
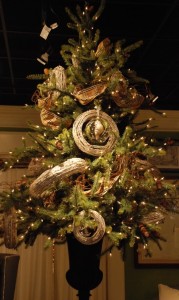
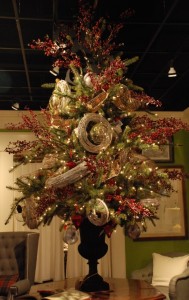
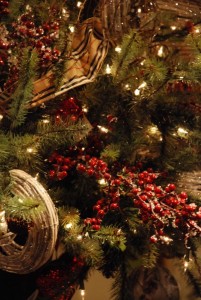
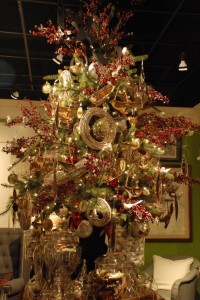
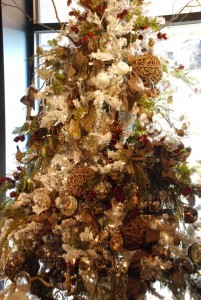
So you can see how Kelly works her magic, I’m sharing a series of snapshots showing how she decorated a display tree at Nell Hill’s Briarcliff. After she placed the lights, she wove in twists of honeysuckle vine and plaid ribbon, starting top down. Another strategy for making run-of-the-mill artificial trees seem fuller and multi-dimensional is to tuck picks into a few empty spots between branches. They can be complementary evergreen sprigs, perhaps sporting pinecones or berries. Or they can be something very different, like faux flowers or whimsical curlicues.
Layer 2: The Middle. Place Big Theme Items
A great tree includes a mixture of large, medium and smaller ornaments. We like to add our largest, high-impact ornaments at the center of the tree.
Pick a few that grab your heart. It could be your grandmother’s china doll, an interesting figurine, a few huge pinecones, or some large wicker or glass balls.
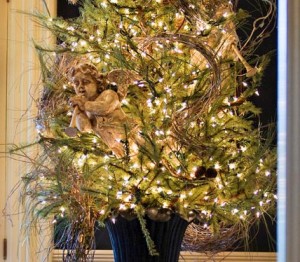
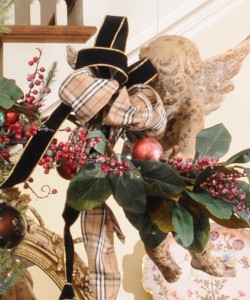
I often use large cherubs when I decorate my own Christmas tree. The photo above is a close up of the cherub that graced the tree in my dining room a few years ago.
This year, I tried something new. Instead of nestling a cherub into the branches of the tree, I suspended two from my banisters so they hung down next to the tree, as if they were flying around it.
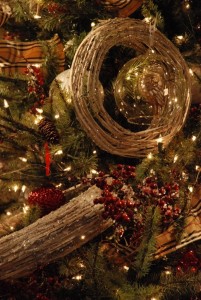
Layer two of Kelly’s tree at Nell Hill’s Briarcliff included a few interesting honeysuckle vine wreaths, hung vertically and horizontally.
Layer 3: The Bottom. Take it to New Heights
Make sure your tree doesn’t fizzle out at the bottom. For a fuller, more intricate look, insert a few fallen sticks, stems of flowers or shafts covered with berries into the widely spaced limbs at the bottom of the tree.
On the tree she decorated at Nell Hill’s Briarcliff, Kelly let large ornaments dangle from the tree’s very lowest limbs. With nothing to obscure them from view or fight with them for attention, these descending ornaments really stand out.
Layer 4: Inside the Tree Branches. Create a Conversation Piece
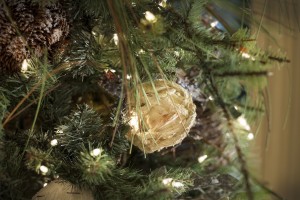
To make your tree more personal, be sure to add at least one ornament that is a bit out of the ordinary or very special to you and your family. In the photo above, Kelly used one of the honeysuckle wreaths as a frame for her favorite ornament, an owl encased in a clear glass orb.
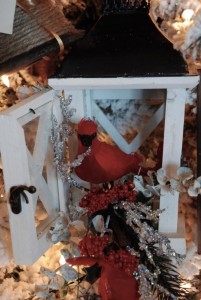
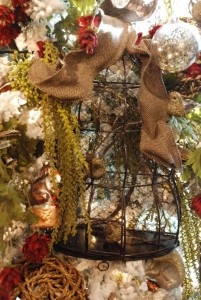
I love lanterns, so we hung a small version of one of my favorite lantern styles in this tree at Nell Hill’s Briarcliff. While store-bought ornaments are wonderful, they aren’t the only thing you can showcase on your tree. Why not hang tiny framed photos of your family members or ancestors from the inner branches? Hang a few teacups or small plates of your china. Or showcase a few pieces from one of your favorite collections.
Layer 5: Edge of the Branches. Create Depth and Dimension
To give our tree at Nell Hill’s Briarcliff some sizzle, Kelly wove in picks of bright red berries. That’s the secret of layer five: giving your tree a bit more depth and color by placing intriguing elements in the middle of the tree branches. At this point, hang the ornaments that you like but don’t love toward the middle of the tree branches, where they bring dimension but don’t stand out.
Layer 6: Outside of the Tree. The Fun Finish
Finish your tree with an exclamation point by hanging dramatic ornaments or trims on the outer tips of the tree branches. On the tree Kelly decorated at Nell Hill’s, she accomplished this fabulous finale by blanketing the tree in interesting ornaments that brought to life the outdoorsy theme.
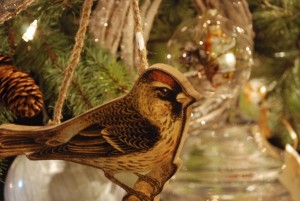
Clear glass ornaments holding wild bird feathers, bird figurines clipped to the branches and vintage wood ornaments cut in the shape of a bird were all perfect picks.
More Tree-mendous Christmas Trees from Nell Hill’s
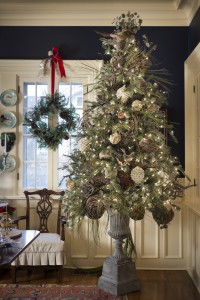
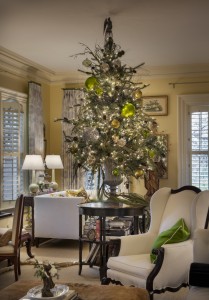
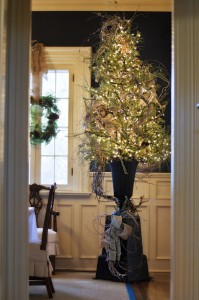
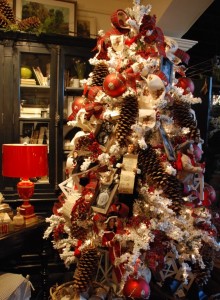
Want some inspiration as you pick a theme and bring it to life on your own Christmas tree? Here are a few trees at Nell Hill’s I think might do the trick!
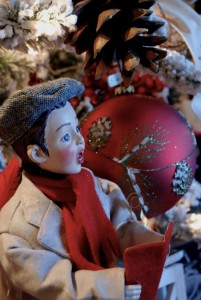
Christmas Caroling
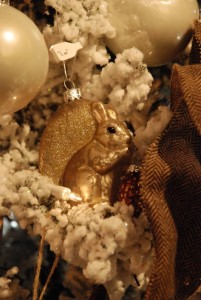
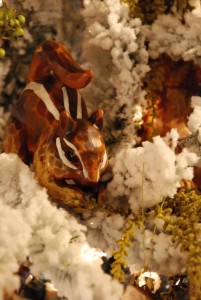
Woodland Creatures
Next Week … Everyone will want to sit at the kids’ table when you dress it for fun. I’ll show you how next week.
